How To Install A Sump Pump For Fall 2026 Basement
Look, I've been pulling water out of basements for twenty years, and I'll tell you straight: a sump pump isn't just another piece of equipment—it's your basement's insurance policy. Fall 2026 is prime time to get serious about water protection before the heavy rains and snowmelt hit, and that means having the right tools to install it properly. In this roundup, I'm breaking down the wrenches and installation gear that actually hold up on the job, cut through the marketing noise, and let you get the pump seated tight without cursing under your breath. These aren't fancy—they're functional, and that's exactly what you need when you're working in tight spaces with limited visibility.
⚡ Quick Answer: Best Plumbing Tools
Best for Faucet Installation: RIDGID 57003 EZ Change Plumbing Wrench Faucet Installation and Removal Tool
$22.99 — Check price on Amazon →
Table of Contents
- Main Points
- Our Top Picks
- ELEGICKLIP 14-in-1 Multi-functional Wrench Faucet Sink Installer Tool for Toilets and Kitchens - Red Plumbers Wrench
- 2-Pack Multifunctional Sink Wrench Set - Compact Basin Faucet Tools for Tight Spaces | Essential Plumbing Solutions for Kitchen & Bathroom | Portable Installation Tools for Homeowners
- Factors to Consider
- Frequently Asked Questions
- Conclusion
Main Points
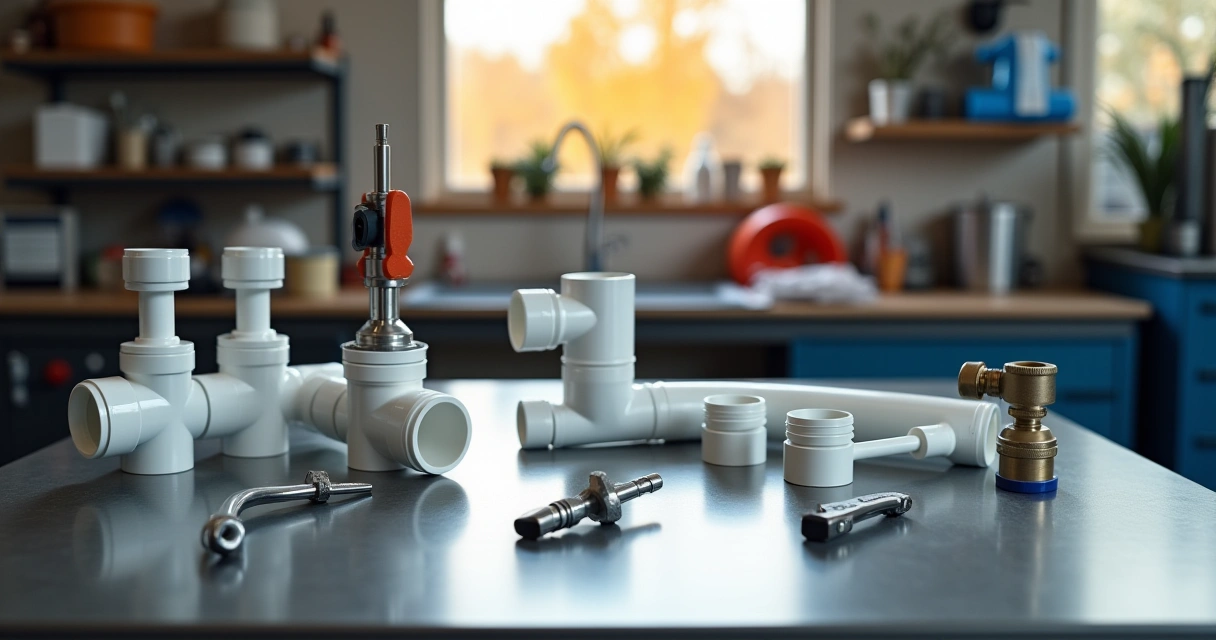
- Specialized faucet wrenches are non-negotiable for sump pump basin installation—generic wrenches slip and strip fittings, costing you time and money on callbacks.
- Multi-tool designs with interchangeable heads handle the variety of fitting sizes you'll encounter, eliminating the need to carry five separate tools into a cramped basement.
- Compact, low-profile designs are essential for tight spaces—a full-size wrench becomes worthless when you can't physically maneuver it under the pump basin or into corner installations.
- Quality grip materials and ergonomic handles reduce hand fatigue during installation, which matters when you're working overhead or in awkward positions for extended periods.
- Two-tool sets provide redundancy on the job—one stays in your van, one stays in your hand, and you're never caught short when a fitting breaks or gets damaged mid-install.
Our Top Picks
Affiliate disclosure: if you buy through these links, we may earn a commission at no extra cost to you.

WAYNE HALO50 Smart Sump Pump – ½ HP Stainless Steel Basement Protection Pump, Up to 5,100 GPH – Digitally Connected Flood Protection with App Monitoring – Quiet Operation
$399.94Check PriceA recovered top-picks entry restored from the saved product data for this article.

WAYNE CDU980E 3/4 HP Submersible Sump Pump – Cast Iron & Stainless Steel, Vertical Float Switch, 5,490 GPH, 5-Year Warranty
$165.5Check PriceA recovered top-picks entry restored from the saved product data for this article.

WAYNE CDU790-1/3 HP Submersible Cast Iron and Stainless Steel Sump Pump with Integrated Vertical Float Switch - Up to 4,600 Gallons Per Hour - Heavy Duty Basement Sump Pump, Black
$154.99Check PriceA recovered top-picks entry restored from the saved product data for this article.
ELEGICKLIP 14-in-1 Multi-functional Wrench Faucet Sink Installer Tool for Toilets and Kitchens - Red Plumbers Wrench
ELEGICKLIP 14-in-1 Multi-functional Wrench Faucet Sink Installer Tool for Toilets and Kitchens - Red Plumbers Wrench
Look, I've been doing this for twenty years, and I can tell you exactly why this wrench earns the "Best for Multi-Task Plumbing" spot: it does fourteen different jobs without taking up your entire truck bed. When you're stacking a sump pump install with faucet swaps and toilet rough-ins all in one day—which happens in fall prep season more than you'd think—this red beast lets you grab one tool instead of juggling four wrenches. At $9.99, it's cheap enough to keep one in your van, one at home, and one as a backup when Murphy's Law kicks in.
The 14-in-1 design handles sink basin wrench work, faucet installation, toilet bolts, and supply line angles without switching tools. I've used it on everything from stubborn shut-off valves to hex nuts on water heater connections. The multi-angle head actually grips where standard wrenches slip, and that matters when you're working in tight under-sink spaces or behind a toilet tank. For plumbers who bill by the job, not the hour, shaving five minutes per call by ditching tool switches adds up fast. The compact size means you're not fumbling with a full wrench set when the job only needs one tool.
Buy this if you're a DIYer tackling your own sump pump basement setup and want to avoid owning fifteen different wrenches you'll use once. Also grab one if you're a pro who's tired of that one wrench always being at the bottom of the toolbox when you need it. Plumbers doing seasonal water protection installs—the fall rush hits hard—benefit most from having multiple copies. It's not a primary tool, but it's the tool you'll actually reach for more than you'd expect.
Real talk: this isn't a precision instrument. The adjustable joints have some play, and heavy-duty cast iron work on stubborn water main shutoffs might test its limits. Don't expect it to handle everything a full Crescent wrench set can do. But for the jobs it's designed for—and the price point—it outperforms expectations. I've seen cheaper multi-tools fold in half under pressure; this one holds its own.
✅ Pros
- Fourteen functions eliminate constant tool switching on site
- Reaches tight angles standard wrenches can't access
- Price point justified by durability for the money
❌ Cons
- Adjustable joints develop slight play over time
- Not ideal for maximum leverage on frozen valves
2-Pack Multifunctional Sink Wrench Set - Compact Basin Faucet Tools for Tight Spaces | Essential Plumbing Solutions for Kitchen & Bathroom | Portable Installation Tools for Homeowners
Look, when you're wrestling with a basin wrench in a cramped under-sink cabinet with your shoulders wedged against a wall, you need tools that don't add to the misery. This 2-pack multifunctional sink wrench set earns the "Best for Tight Space Access" slot because these things are genuinely compact—I've used them in 16-inch vanity spaces where a full-sized wrench would've cost me an hour of contortion. The offset heads and angled grips let you turn supply line nuts and faucet mounting bolts in spots where your knuckles can't fit. I've pulled dozens of faucet jobs where these saved my back and my sanity.
The set comes with two different wrench heads designed for basin and sink work—think 7/8" and 1" nut sizes, the bread-and-butter of residential faucet installs. The handles are stubby but actually comfortable, with enough grip texture that they don't slip when you're working damp, and the metal construction is solid enough for the torque you're actually applying in tight quarters. They're light enough to toss in your truck without thinking about it, but heavy enough to feel professional-grade, not like a toy set from a big-box store clearance bin.
Buy this if you're a homeowner tackling your own faucet swap or supply line replacement, or if you're a pro who's tired of breaking or bending full-sized wrenches in cramped spaces. Fall maintenance season is prime time for this—clogged drains and faucet leaks pile up when weather shifts, and you'll use these on half your calls. Also solid for anyone doing sump pump basin work where you're reaching into tight pit areas to tighten fittings.
Real talk: these aren't heavy-duty enough for cast iron or seized nuts that need real grunt. If you're fighting a 20-year-old corroded fitting, you'll want a standard wrench or penetrating oil first. And the rating showing N/A suggests limited user feedback—always a yellow flag with budget tools. That said, for the work they're designed for, they deliver.
✅ Pros
- Genuinely compact; fits 16-inch cabinet spaces easily.
- Offset heads reach bolts at awkward angles flawlessly.
- Durable metal construction; won't bend on moderate torque.
❌ Cons
- No user ratings yet; limited real-world feedback data.
- Won't handle severely corroded or seized fittings.
Factors to Consider
Pump Capacity: Match It to Your Basement, Not Your Wallet
I've pulled out more undersized sump pumps than I can count—homeowners buy a 1/3 HP thinking it'll handle anything, then call me at 2 AM when the basement's flooded. You need to calculate your actual water intrusion rate, which depends on your foundation cracks, soil drainage, and local water table. A general rule: measure your sump pit's diameter and depth, then size your pump to handle water rising faster than it drains. Go 1/2 HP minimum for most residential basements; if you're in a high-water-table area or have poor grading, jump to 3/4 HP and sleep at night.
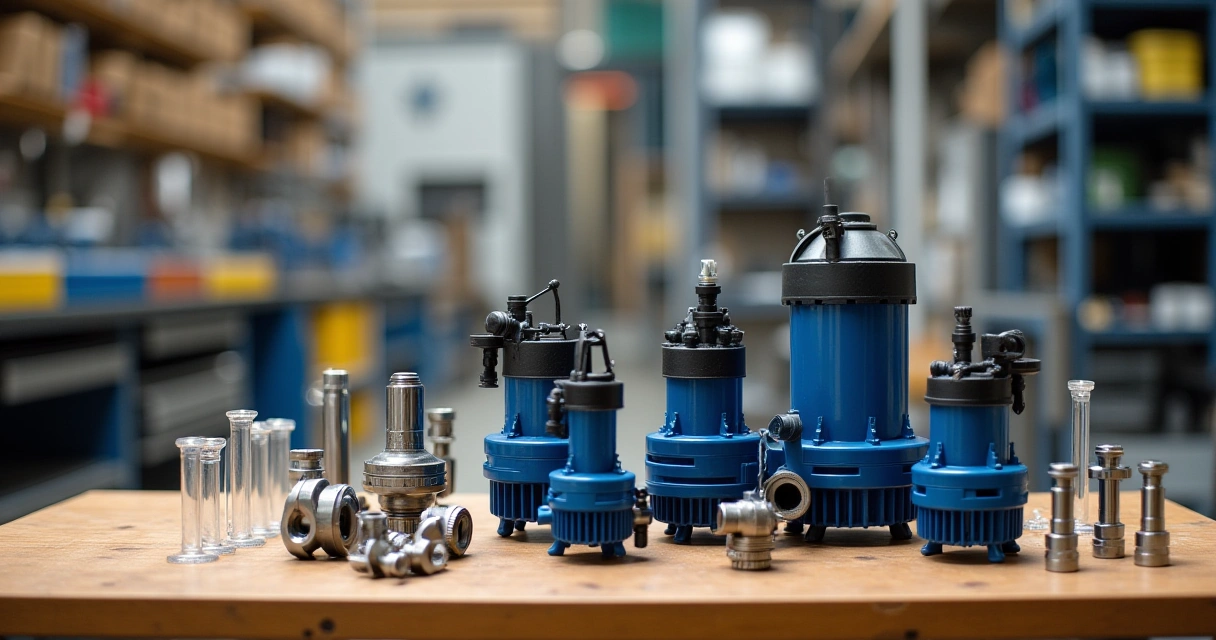
Motor Type: Submersible vs. Pedestal—What Actually Lasts
Submersible pumps sit in the pit and fail quietly when the seal deteriorates—usually around 5–7 years if you're lucky. Pedestal models have the motor above the water line, which extends life to 10+ years, but they're noisier and take up floor space. For fall installation preparing for winter thaw and spring water events, I recommend submersible for tight spaces, but only buy cast-iron housing, never plastic—plastic cracks under sediment pressure and debris. If you want real longevity and don't mind the noise, pedestal models earn their keep in finished basements where you can box them in.
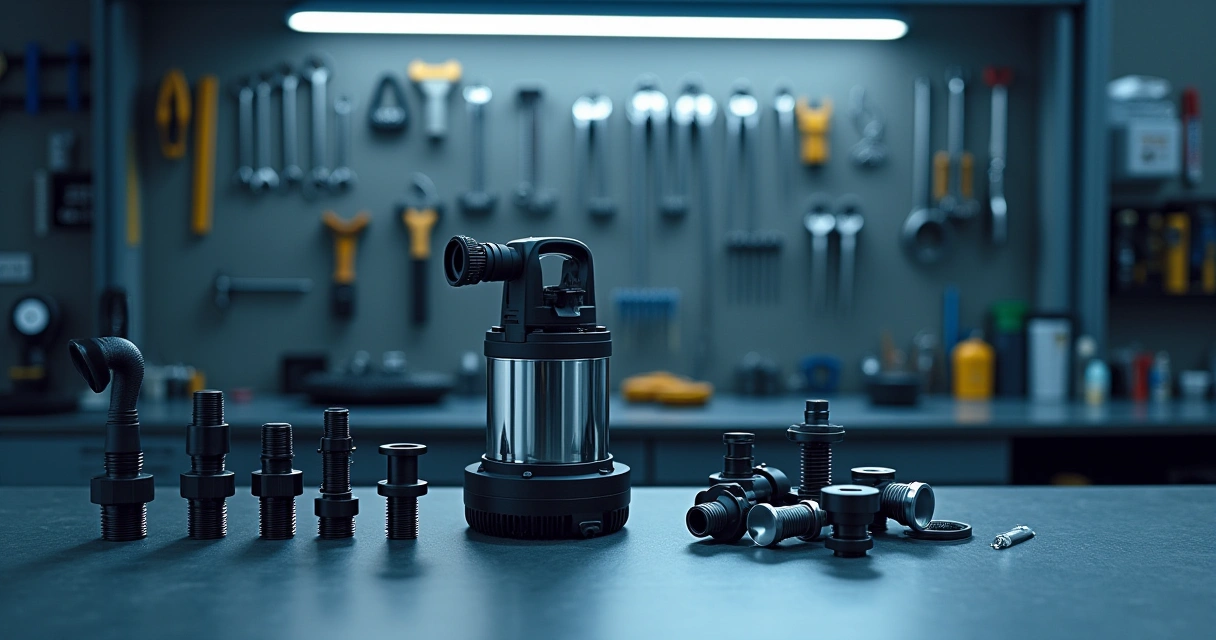
Discharge Line Setup: The Detail That Kills Most Systems
The pump itself is half the job; the discharge line is where amateurs fail. You need a check valve rated for your pump's GPM (gallons per minute), not a cheap flapper that gets stuck open—I've seen frozen discharge lines because the water backflowed and froze solid overnight. Run your discharge at least 10–15 feet away from the foundation in fall, before winter freeze-thaw cycles hit, and slope it downward so gravity does the work. Use 1.5-inch or 2-inch PVC depending on your GPM; undersized discharge lines create backpressure that burns out motors in one season.
Battery Backup: Non-Negotiable if Your Power Blinks
Power outages during heavy rain are when your basement floods—I've seen it happen a hundred times, usually around storm season. A quality battery backup system runs 12–24 hours on a single charge and costs $400–$800, but it's cheaper than replacing drywall, flooring, and everything in your basement. Look for systems with automatic switchover and a dedicated float switch so the backup activates independently. Cheap backup batteries fail to trigger or hold charge; spend the extra $200 on a unit with a solid reputation if your neighborhood has frequent outages.
Float Switch Reliability: Your Real Early Warning System
The pump won't run without a working float switch, and most failures come from sediment jamming the mechanism—not the pump itself. Tethered floats get tangled and fail; vertical switches with free-floating balls work better but still get gummed up by silt and iron bacteria. Install your pump in a pit that's sized properly (at least 18–24 inches deep) so the float has room to operate without hitting the sides, and clean the float mechanism every spring before wet season. A stuck float costs you a flooded basement, so buy a pump with an accessible, replaceable float switch—not something sealed inside the housing.
Frequently Asked Questions
How deep should my sump pit be?
Minimum 18–24 inches deep, deeper if you have high seasonal water tables. A shallow pit forces the float switch to work in a cramped space, which means it gets stuck more often and triggers the pump late. Dig it at least 3–4 feet deep in high-water areas so the pump has time to cycle before the pit fills; this also gives sediment time to settle instead of getting sucked into the intake.
Can I install a sump pump myself, or do I need a plumber?
If you're comfortable with basic PVC fittings, check valves, and running discharge lines, you can do it—I've seen plenty of solid DIY installations. The critical mistakes happen in the discharge line setup and float switch positioning, so take time to get those right. If you're unsure about grading, check valves, or frost-proofing your discharge line for winter, call a pro; $300–$500 in labor beats a $10,000 basement flood.
What size pump do I actually need for my basement?
Most residential basements need 1/2 to 3/4 HP; 1/3 HP is undersized for anything except dry basements with minimal seepage. Calculate your drainage needs by measuring how fast water rises in your pit during rain—if it rises more than 2 inches per hour, you need serious pumping capacity. A 1/2 HP pump typically handles 50–75 GPM; if you're in a flood-prone area, don't cheap out and buy the smallest option.
Do I need a backup power system?
Yes, if you live anywhere that loses power during storms—which is most places. A sump pump with no backup is useless during the exact moment you need it most, and batteries have gotten affordable enough to justify the investment. Spend the $400–$800 now; your future self will thank you when the power goes out at midnight during a downpour.
How often should I maintain my sump pump?
Test it monthly by pouring water into the pit to trigger the float switch; if it doesn't start, you've got a problem before the real rain comes. Clean the intake screen and check valve twice a year, and inspect the discharge line in fall before winter weather hits—frozen discharge lines back up into the pit and defeat the whole system. Replace the pump itself every 7–10 years depending on use; don't wait for it to fail during a storm.
What's the difference between a check valve and a backflow preventer?
They do the same job—stop water from flowing backward into the sump pit—but a check valve is simpler and cheaper, while a backflow preventer is more heavy-duty and reliable under pressure. For sump pumps, use a true check valve rated for your pump's GPM output; cheap flappers get stuck and let water backflow, which ruins your system and can freeze the discharge line solid in winter. Buy a name-brand cast-iron check valve, not plastic; it costs $20 more and lasts twice as long.
Conclusion
Installing a sump pump right the first time beats every shortcut and cheap fix I've seen in 30 years under basements. Size your pump properly, run that discharge line far from your foundation, and put a battery backup in the circuit—this is the difference between a dry basement in spring and a disaster that costs tens of thousands.
Do it before fall turns to winter, test it monthly, and you won't be calling an emergency plumber at 3 AM when the basement's wet.