how to effectively maintain and clean your pex plumbing system for everyday use
When it comes to plumbing, PEX systems are the unsung heroes of modern water distribution. They’re flexible, durable, and easy to install—until they start leaking, clogging, or acting like a gremlin under the floorboards. Maintaining your PEX plumbing isn’t just about keeping your taps running; it’s about preventing the kind of headaches that can turn a simple morning shower into a full-blown disaster. Whether you're dealing with a stubborn kink in the line or a slow drip that’s been going unnoticed, knowing how to properly care for your PEX system is a skill every pro plumber should have.
PEX is a beast in its own right. It’s not the same as copper or PVC, and it requires a different mindset when it comes to maintenance. You’ve got to be smart about cleaning, inspecting, and protecting your lines from the elements that can damage them over time. From the tools you use to the tricks you pick up along the way, every detail matters. Let’s break it down so you can keep your PEX system running like it’s brand new, even after a decade of use.
Table of Contents
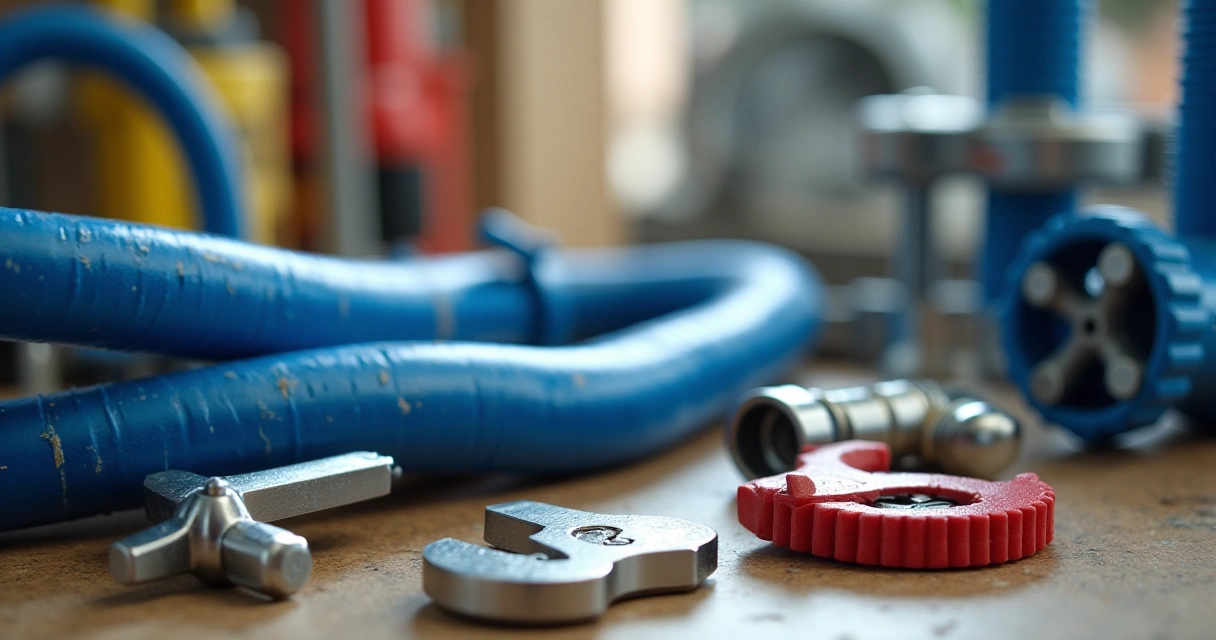
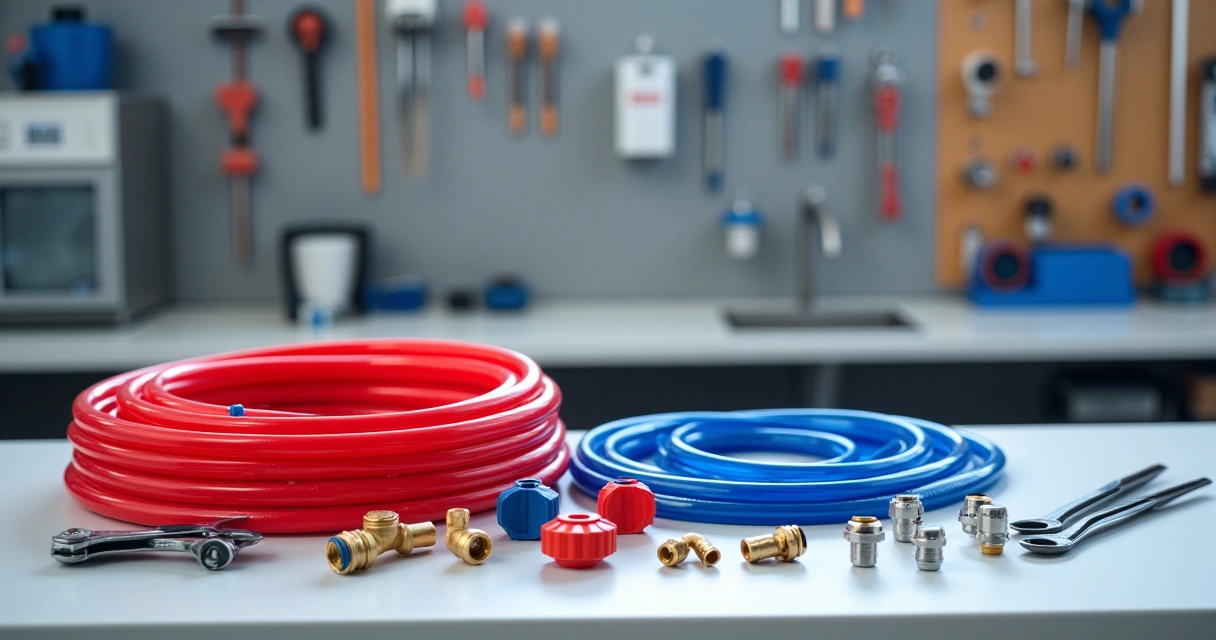
Choosing the Right PEX Tools
Tools are the backbone of any plumbing job, and PEX is no exception. You don’t want to be using a basic pipe wrench on PEX lines—those things are designed for metal, not plastic. A quality PEX crimping tool is a must. Look for one with a sturdy frame, a good grip, and a crimping die that’s properly aligned. Cheap tools from the hardware store will give you a bad crimp, leading to leaks and frustration down the line.
Also, always use a PEX cutter, not a hacksaw. A hacksaw can tear up the tubing and leave jagged edges that are a nightmare to deal with. A proper PEX cutter makes clean, straight cuts that are easy to connect. If you’re working with PEX that’s been in place for a while, a utility knife can be useful for trimming, but only if you’re careful not to nick the tubing.
Inspecting and Cleaning PEX Lines
PEX lines can accumulate debris, especially if they run through areas where dust or dirt can get into the system. Over time, this can lead to reduced water flow or even clogs. A quick inspection every few months can save you from a big mess. Use a flashlight and a mirror to look for signs of damage, kinks, or discoloration.
Cleaning PEX lines is simple but often overlooked. If you notice reduced flow or strange noises, you might have a buildup in the line. A simple flush with a garden hose or a pressure washer can help clear out the gunk. If you're dealing with stubborn residue, a mild solution of vinegar and water can be used to dissolve buildup without damaging the plastic.
Dealing with Kinks and Bends
Kinks in PEX lines are a common issue, especially if the line is installed improperly or if it’s subjected to heavy pressure. A kinked PEX line can restrict water flow, cause pressure drops, or even lead to a full blockage. If you notice a kink, don’t try to force it back into shape. That’s a recipe for a burst line or a connection that won’t seal properly.
Instead, replace the damaged section. PEX is flexible, but it has its limits. If a section is kinked beyond repair, cut it out and install a new piece. Use a proper crimping tool to secure the new section and ensure a tight, leak-free connection. It might be tempting to just bend the line, but that’s a gamble you don’t want to take.
Preventing and Fixing Leaks
Leaking PEX lines are a nightmare. They can go unnoticed for weeks, leading to water damage and mold growth. Prevention starts with proper installation and regular inspection. Always check for tight connections, especially after any plumbing work or if you've had a recent water pressure change.
If you do find a leak, the first thing to do is turn off the water supply. Then, inspect the connection to see if the crimp is loose or the fitting is damaged. If it’s a loose crimp, re-crimp the connection using a proper tool. If the fitting is cracked or damaged, replace it immediately. Don’t try to patch it up with tape or glue—those won’t hold under pressure.
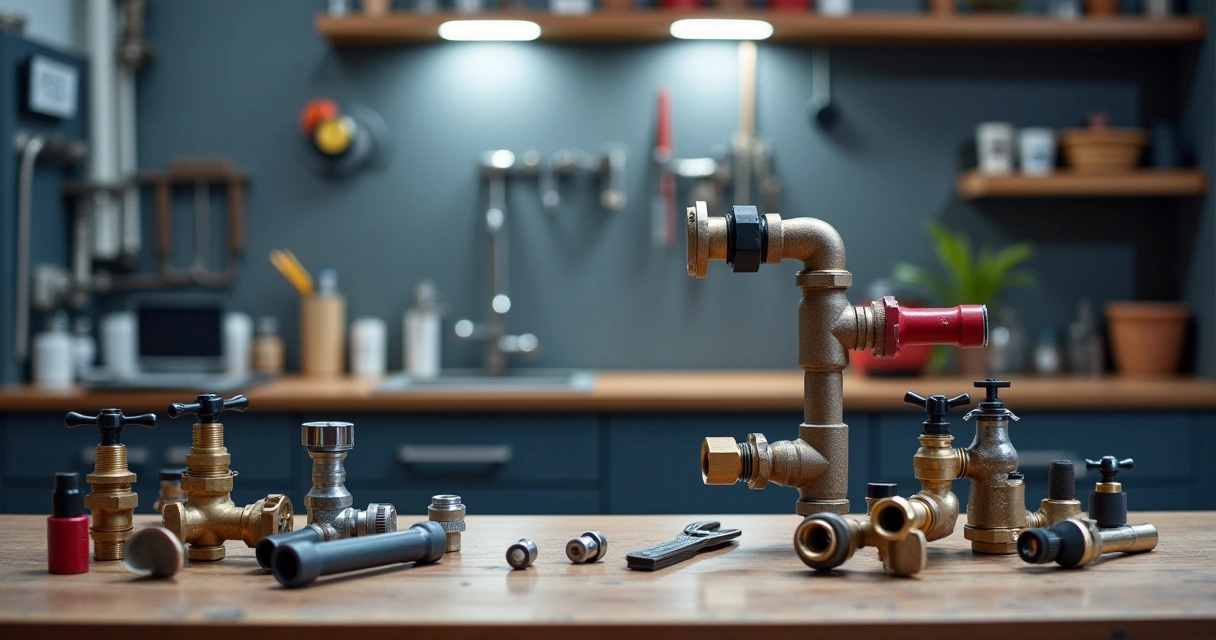
Maintaining PEX Fittings and Connections
PEX fittings are the weak link in many systems, and they require regular attention. If you’re using compression fittings, make sure the nut is tight and the ferrule is in place. If you’re using crimp fittings, ensure the crimp is clean and the die is properly aligned. A loose or improperly crimped fitting is a leak waiting to happen.
Over time, the connections can become loose due to vibration or expansion. A quick check every few months can catch these issues before they turn into major problems. If you notice a slight drip or a change in water pressure, it’s time to inspect the fittings. Tighten them if needed, or replace them if they’re worn or damaged.
When to Call a Pro
There’s a fine line between a simple maintenance job and a full-blown plumbing emergency. If you’re dealing with a recurring leak, a kinked line that won’t straighten, or a connection that just won’t hold, it’s time to call in the pros. PEX systems can be tricky, and if you’re not confident in your skills, it’s better to let a qualified plumber handle it.
Also, if you’re working on an older system that’s been in place for years, you might be dealing with issues that aren’t obvious at first. A professional can run a pressure test, inspect the entire system, and spot problems you might have missed. Don’t let a small issue turn into a big repair. A pro can save you time, money, and a lot of headaches.
Frequently Asked Questions
Can I use a regular pipe wrench on PEX lines?
No. PEX is a flexible plastic, and a regular wrench can crush or damage the line. Use a PEX-specific crimping tool or a good quality pipe wrench with a soft jaw to avoid marring the tubing.
How often should I inspect my PEX system?
At least once every six months. If you live in an area with high water pressure or extreme temperature changes, inspect it more frequently. Early detection is key to avoiding major damage.
Can I use Teflon tape on PEX fittings?
No. Teflon tape is for metal threads and can cause leaks or even damage the PEX line. Use a proper crimp or compression fitting and never rely on tape for a seal.
What should I do if my PEX line is kinked?
Replace the damaged section. Don’t try to bend it back into shape—it will only lead to more stress on the fittings and potential leaks.
Is it normal for PEX lines to expand or contract?
Yes, but only within limits. PEX is designed to handle some expansion and contraction. However, excessive movement can lead to kinks or stress on the connections. Always install with proper support and slack.
Can PEX lines be repaired without replacing the entire section?
Only in very limited cases. Most PEX damage requires replacing the affected section. Repairs with tape or glue are not reliable and can lead to leaks or bursts.
Maintaining your PEX system is one of the easiest ways to avoid a plumbing disaster. With the right tools, techniques, and regular checks, you can keep your lines running smoothly for years. If you’re not sure about anything, don’t hesitate to call a pro. A few minutes of care now can save you hours of work later. Keep your PEX system clean, tight, and in good shape—your future self will thank you.
Frequently Asked Questions
What is the best tool to use on PEX lines?
The best tool for PEX lines is a specialized PEX crimping tool or a PEX cutting tool. These tools are designed to ensure clean cuts and secure connections without damaging the flexible tubing.
How do I choose the right PEX tool for my project?
To choose the right PEX tool, consider the type of connection you're making (crimp, expansion, or push-fit) and the diameter of your PEX tubing. Always opt for tools specifically designed for PEX to avoid damage and ensure proper installation.
How can I fix a kink in a PEX line?
To fix a kink in a PEX line, gently straighten the bend using a flathead screwdriver or a specialized PEX kink repair tool. Avoid applying too much force to prevent further damage to the tubing.
Is it worth using a regular pipe wrench on PEX lines?
It is not worth using a regular pipe wrench on PEX lines as it can easily crush or damage the tubing. Always use a PEX-specific wrench or pliers to protect the integrity of the PEX system.
What should I look for when inspecting PEX lines?
When inspecting PEX lines, look for signs of kinks, leaks, or discoloration. Check connections for tightness and ensure there are no sharp bends or abrasions that could lead to future issues.
How do I properly clean PEX lines?
To clean PEX lines, use a soft cloth or sponge with mild soap and water. Avoid harsh chemicals or abrasive materials that could damage the tubing's surface or compromise its durability.
What are the common issues with PEX lines and how to avoid them?
Common issues with PEX lines include kinking, leaks, and improper connections. To avoid these, use the correct tools, follow proper installation techniques, and regularly inspect your system for signs of wear or damage.