how to properly disassemble and reassemble a pex plumbing system for everyday use
When it comes to PEX plumbing systems, knowing how to properly disassemble and reassemble them can save you hours of headaches and a bunch of money. PEX is everywhere these days—under sinks, in showers, and even in radiant heating systems. But if you don’t do it right, you're just setting yourself up for leaks, clogs, or worse. I've seen too many DIYers rush through this and end up with a mess. Let’s cut through the fluff and get you the real deal.
Our Top Picks
Affiliate disclosure: if you buy through these links, we may earn a commission at no extra cost to you.
Whether you're replacing a faucet, fixing a leaky PEX line, or just maintaining your system, understanding how to handle PEX properly is a must. This guide isn’t about theory—it’s about what works on the job. We’ll walk through every step, from cutting to soldering, and I’ll call out the tools that’ll last and the ones that’ll break in your hand. Let’s get to it.
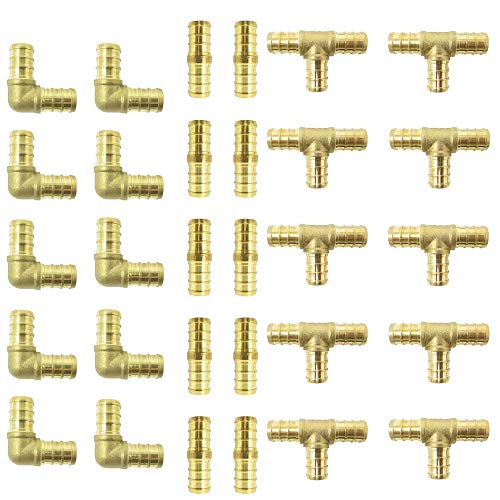
(30 pieces) 1/2" Brass PEX Fittings for 1/2 inch PEX Pipe (10 - Elbow, 10 -TEE, 10 - Coupler/Straights) Kit for Domestic Water and Radiant Heating, DZR and No-Lead Brass Crimp Cinch System PEX GUY
$22.8Check PriceA recovered top-picks entry restored from the saved product data for this article.
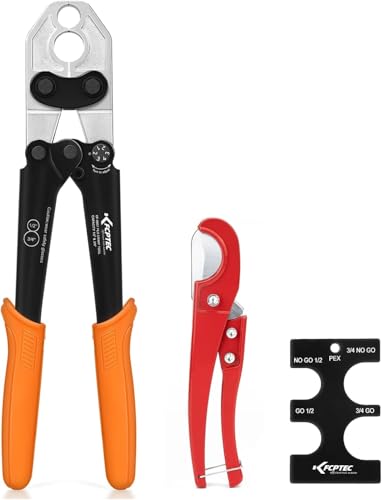
KF CPTEC PEX Crimp Tool Kit for PEX-B Plumbing, PEX Copper Crimping Tool for 1/2 inch and 3/4 inch PEX Pipe, Forged Steel PEX Crimper with Tubing Cutter and Go/No-Go Gauge, ASTM F1807 Compliant
$42.99Check PriceA recovered top-picks entry restored from the saved product data for this article.

KF CPTEC 1/2 and 3/4-inch Combo PEX Crimping Tool for Copper Crimp Rings with Go/No-Go Gauge, Meets ASTM F1807 Standard, Durable Plumbing Tool
$39.99Check PriceA recovered top-picks entry restored from the saved product data for this article.
Table of Contents
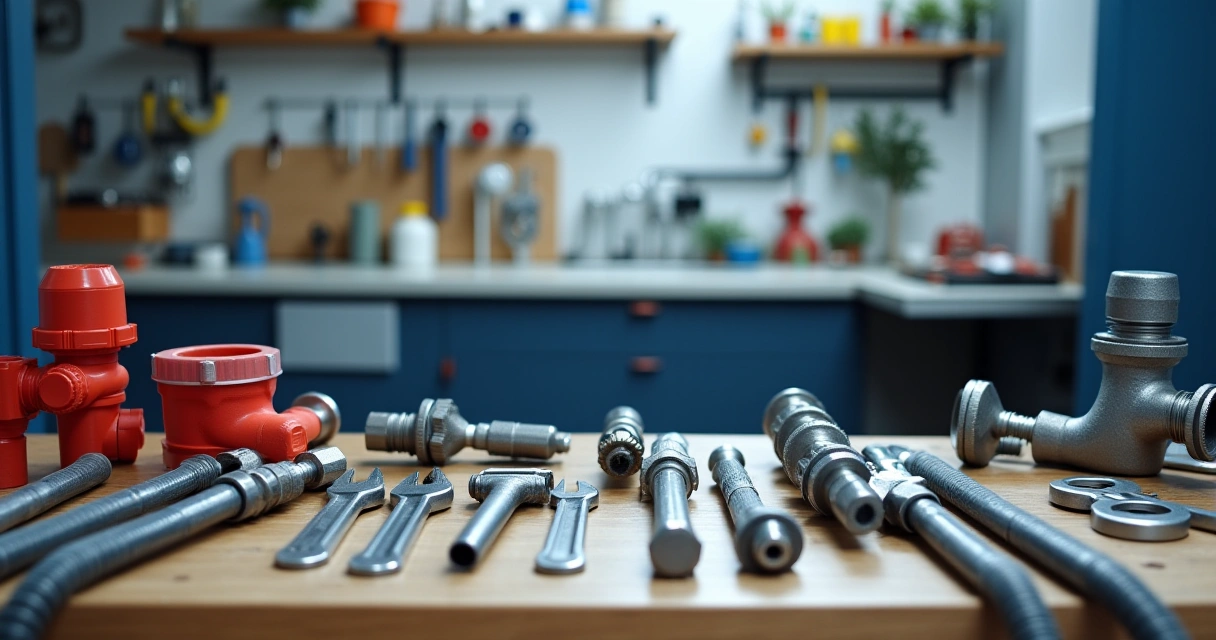
Tools You’ll Need
Before you even touch a PEX line, make sure you’ve got the right tools. A good PEX cutter is a must—those cheap plastic ones from the hardware store will bend and snap in your hand. Go for a quality stainless steel or carbide-tipped one. You’ll also need a pair of needle-nose pliers, a pipe wrench, and maybe a hacksaw if you’re dealing with stubborn fittings.
Don’t forget a soapy water solution to help with the soldering or crimping process. It’ll make a world of difference in how cleanly your connections seal. And if you’re doing crimping, a dedicated crimping tool is a must. I’ve seen too many people try to use a regular pliers and end up with a weak, leaky connection.
Disassembling the PEX System
Disassembly starts with shutting off the water supply. That’s non-negotiable. You don’t want to be scrambling to stop the flow once you’ve got a mess. Once the water’s off, use your pipe wrench or pliers to loosen the fittings. If they’re stubborn, a little heat from a hair dryer can help expand the metal and make them easier to remove.
Take your time and don’t rush. If you twist too hard, you can damage the PEX line or the fitting. Also, be careful not to let any leftover solder or crimp rings fall into the system. They can clog up your pipes and cause more trouble later. Keep everything organized so you can reassemble without confusion.
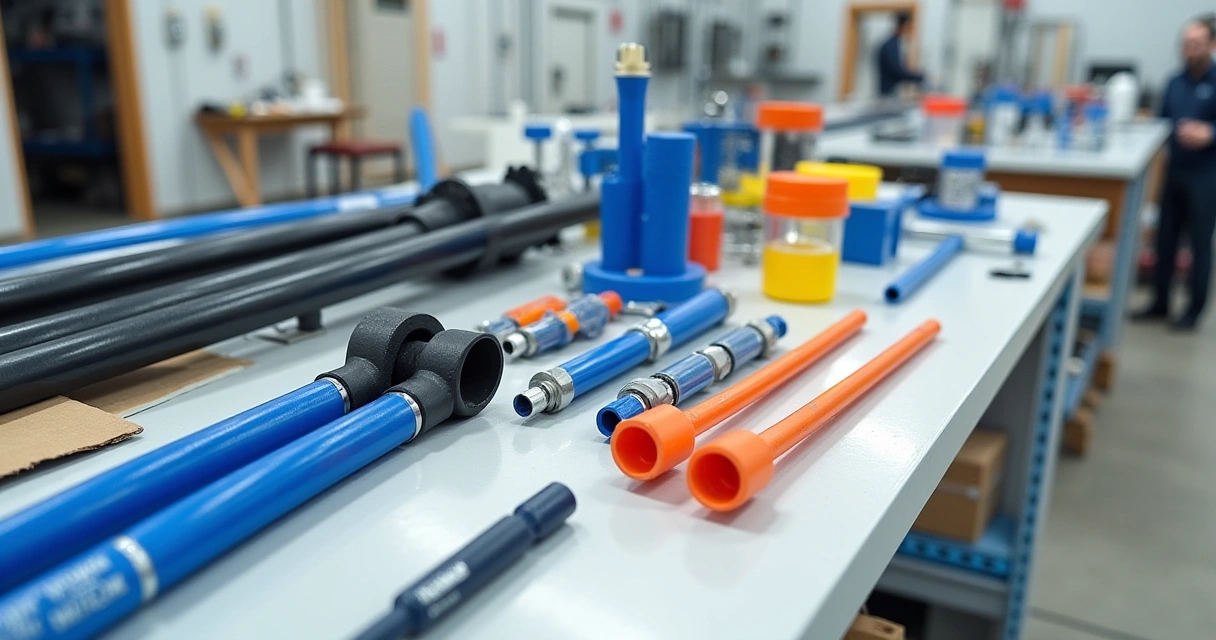
Preparing New PEX Tubing
Before you even cut the new PEX tubing, make sure it’s the right size and type for your system. PEX comes in different grades—some are better for hot water, others for cold. Use the correct type or you’ll end up with a system that fails under pressure.
Cutting PEX is a delicate process. Use your PEX cutter to make a clean, straight cut. If you’re using a hacksaw, make sure the blade is sharp and you’re applying even pressure. A nicked or jagged cut can lead to leaks or poor connections. Once cut, you’ll need to deburr the ends. A PEX deburring tool is a lifesaver here—those little nicks can really mess up your solder or crimp.
Soldering or Crimping the PEX Connections
Soldering is the old-school way and still works well if you know how to do it right. Start by cleaning the ends of the PEX and the fitting with a wire brush. Then, apply flux and heat the fitting until it’s hot enough to melt the solder. Make sure you don’t overheat the PEX—it can melt and cause a leak.
If you’re using crimp rings, make sure you have the right size for your PEX diameter. A crimping tool that’s too small or too large will result in a weak connection. Apply even pressure and double-check that the ring is fully crimped. If it doesn’t look right, replace the ring and try again.
Reassembling the System
Now that you’ve got your new PEX and connections ready, it’s time to put it all back together. Start by connecting the fittings to the PEX tubing, making sure they’re tight and secure. If you’re using a saddle valve, make sure it’s aligned properly so the flow isn’t restricted. Use a pipe wrench to give it a good turn, but don’t over-tighten.
Once everything’s connected, slowly turn the water supply back on. Watch for any signs of leaks. If you see a drip or a leak, shut it off immediately and check your connections. It’s better to catch a problem now than to wait for it to become a full-blown mess later.
Testing and Final Checks
After reassembling, run water through the system for a few minutes to flush out any debris or air pockets. Check all connections again, especially the ones that were previously leaking. If you’re working on a hot water line, let the water run for a bit to ensure the system is holding pressure.
Finally, take a look at the whole system. If everything looks good and there are no leaks, you’re in the clear. If not, don’t panic—just go back and fix what’s wrong. A good PEX system should last years, but it only takes one mistake to undo everything. Stay sharp, stay safe, and always double-check your work.
Frequently Asked Questions
Can I use regular pliers for crimping PEX?
No. Regular pliers won’t apply the right pressure and can result in a weak connection. Always use a dedicated crimping tool.
What if the PEX is already soldered and I need to replace it?
It’s tricky, but possible. You’ll need to cut out the section, remove the old solder, and re-solder the new PEX. Be careful not to damage the surrounding pipe.
Can I use a hacksaw to cut PEX?
Yes, but only if you use a fine-tooth blade and take your time. A PEX cutter is much easier and faster, though.
What should I do if I get a leak after reassembling?
Shut off the water immediately and inspect the connection. If it’s a crimp ring, replace it. If it’s a solder joint, re-solder it. Don’t let a small leak turn into a big mess.
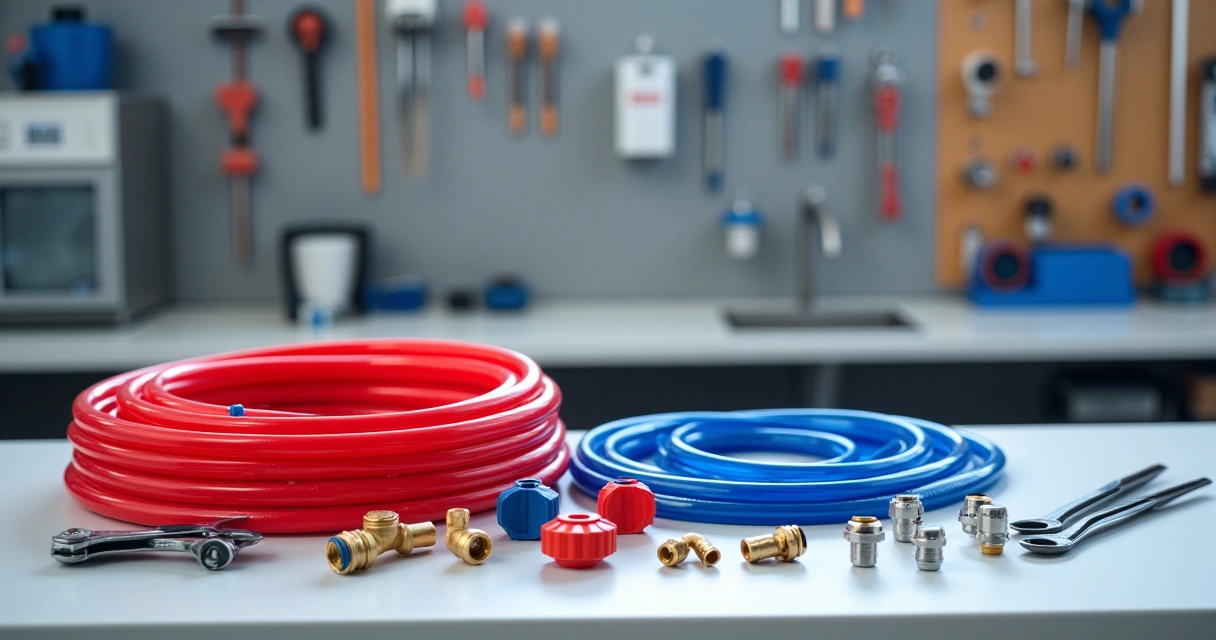
How do I know if the PEX is the right type for my system?
Check the manufacturer’s specs or consult a professional. PEX-A is best for hot water, PEX-B for cold, and PEX-C is a hybrid. Always use the right type for your application.
Can I use PEX in a radiant heating system?
Yes, PEX is commonly used in radiant heating. Just make sure you use the correct type and follow the installation guidelines to avoid kinks and leaks.
Disassembling and reassembling a PEX system isn’t rocket science, but it’s not something you can rush. Take your time, use the right tools, and don’t cut corners. If you do, you’ll save yourself a lot of trouble down the line. Now go get that job done right—your future self will thank you.
Frequently Asked Questions
How do I choose the right crimping tool for PEX?
Look for a PEX-specific crimping tool that is compatible with the type of fittings you're using. These tools ensure a secure and leak-free connection, unlike regular pliers which can damage the tubing.
What is the best way to disassemble a PEX system?
Use a pipe wrench or PEX-specific disassembling tools to carefully remove fittings without damaging the tubing. Always check for leaks after each step to ensure proper reassembly.
Is it worth using regular pliers for crimping PEX?
No, regular pliers are not recommended for crimping PEX as they can cause improper compression and lead to leaks. Invest in a dedicated PEX crimping tool for reliable results.
How can I tell if my PEX fittings are properly crimped?
Check for a firm, even compression around the fitting. A properly crimped connection should be tight and free of gaps, ensuring a leak-free seal in your PEX system.
What tools are needed for preparing new PEX tubing?
You'll need a PEX cutter for clean cuts, a crimping tool for secure fittings, and a pipe wrench for disassembling existing connections. These tools help ensure a professional and efficient installation.
How do I avoid damaging PEX tubing when removing fittings?
Use a pipe wrench or PEX-specific removal tool to gently twist and loosen fittings. Avoid using excessive force or improper tools that can crack or nick the tubing.
What is the best practice for reassembling a PEX system?
Always double-check that all fittings are securely crimped and connections are tight. Test for leaks by running water through the system and inspecting for any signs of dripping or moisture.